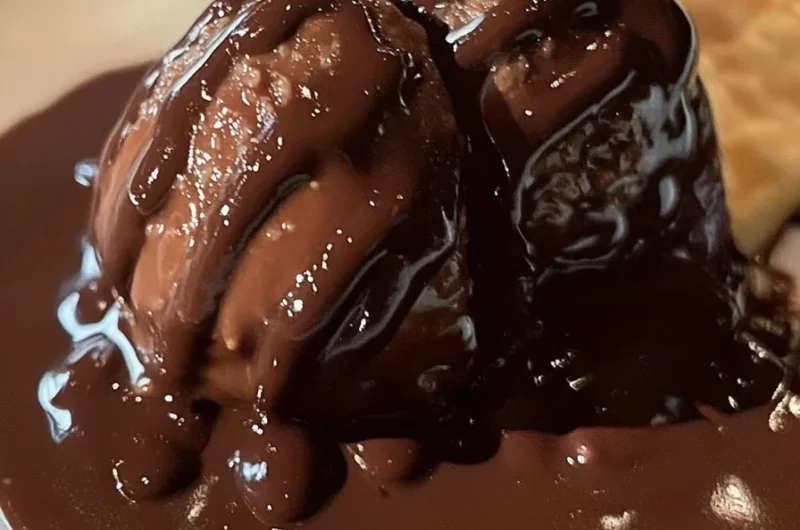
Homemade Choco Tacos are a delightful treat that combines the best of ice cream and the deliciousness of a chocolate taco shell. Imagine biting into a crunchy, chocolate-covered taco filled with creamy ice cream and topped with your favorite goodies. It’s a fantastic way to enjoy dessert, and let me tell you, once you make them from scratch, you won’t want to buy store-bought again! The combination of flavors and textures creates an amazing experience for your taste buds that is hard to resist.
If you’ve never tasted Homemade Choco Tacos, you’re in for an incredible treat. The crispy shell, rich chocolate coating, and sweet ice cream filling come together to create a perfect balance of flavors. Each bite is a little piece of heaven that can bring joy to anyone, whether you’re serving them at a birthday party or simply enjoying a quiet night at home. In this guide, I will walk you through the steps to prepare these delightful treats, making them the star of your dessert lineup.
Making Homemade Choco Tacos may sound complicated, but fear not! This recipe requires only a few essential ingredients and simple steps. You’ll quickly learn why everyone raves about these tasty tacos. Get ready to impress friends and family with your homemade version of this classic favorite!
Why You’ll Love This Recipe
There are numerous reasons why Homemade Choco Tacos will become a firm favorite in your household. Here are just a few highlights:
1. Easy to Make: With only five main ingredients and straightforward steps, this recipe is beginner-friendly.
2. Customizable: You can switch up the ice cream flavors and toppings to suit your taste, making each taco unique.
3. Fun for Everyone: Kids and adults alike will love assembling and decorating their own tacos, making it a fun family activity.
4. Perfect for Any Occasion: Whether it’s a birthday, picnic, or movie night, these tacos are sure to delight.
5. Deliciously Decadent: The combination of chocolate, ice cream, and toppings is simply irresistible.
6. Guaranteed Smiles: The joy of biting into a delicious homemade treat is unmatched, and these tacos never fail to create smiles!
With such compelling reasons to give them a try, you won’t want to miss out on making these delightful Homemade Choco Tacos.
Preparation and Cooking Time
Creating your Homemade Choco Tacos is not only enjoyable but also quick! Here’s a breakdown of the time needed to prepare and assemble them:
– Preparation Time: 30 minutes
– Freezing Time: At least 1 hour (for the ice cream to set)
– Total Time: Approximately 1 hour and 30 minutes
Just ensure that you give the ice cream enough time to freeze solid. This will help keep your tacos intact once you start assembling them.
Ingredients
– 6 taco-sized waffle cones
– 1 cup of your favorite ice cream (softened)
– 1 cup semi-sweet chocolate chips
– 1 tablespoon coconut oil (or vegetable oil)
– Assorted toppings (sprinkles, crushed nuts, or mini chocolate chips)
Step-by-Step Instructions
Follow these simple steps to create your Homemade Choco Tacos:
1. Prepare the Ice Cream: Soften your favorite ice cream by letting it sit at room temperature for about 10 minutes. Once softened, spoon it into the waffle cones, filling them to the top. Smooth out the surfaces, and then place the filled cones upright in the freezer to harden for at least 1 hour.
2. Melt the Chocolate: In a microwave-safe bowl, combine the chocolate chips with the coconut oil. Heat in the microwave in 30-second intervals, stirring after each until completely melted and smooth.
3. Coat the Tacos: Once the ice cream in the cones is solid, remove them from the freezer. Dip each filled cone into the melted chocolate until the top edge is coated.
4. Add Toppings: Quickly sprinkle your chosen toppings over the chocolate before it hardens.
5. Freeze Again: Place the coated cones back in the freezer for about 15-20 minutes to allow the chocolate to set completely.
6. Serve and Enjoy: Once the chocolate has set, your Homemade Choco Tacos are ready to be served! Enjoy them immediately or store them in an airtight container in the freezer for later.
How to Serve
Homemade Choco Tacos are as fun to serve as they are to make! Here are a few tips to ensure that your presentation is just as delightful as the dessert itself:
1. Plate Presentation: Use colorful plates to make your tacos pop visually. A fun arrangement can add excitement to the dessert table.
2. Toppings Display: Provide a variety of toppings in small bowls, allowing guests to customize their tacos according to their preferences. This interactive element enhances the experience.
3. Beverage Pairing: Serve your tacos alongside a refreshing drink, such as milkshakes, iced coffee, or even a simple glass of cold milk.
4. Garnish Idea: For an extra touch, drizzle some chocolate syrup over the plate or around the taco for a beautiful, gourmet presentation.
5. Enjoy with Friends: These tacos are perfect for sharing. Encourage your friends or family to make their own combinations and enjoy the fun of personalized desserts!
By following these serving suggestions, you’ll create an incredible dessert experience that no one will forget. Whether it’s summer or winter, Homemade Choco Tacos will always be an amazing treat to enjoy. Happy eating!
Additional Tips
– Choose the Right Ice Cream: For the best flavor and texture, use high-quality ice cream. A denser ice cream will hold its shape better and provide a richer taste.
– Experiment with Toppings: Don’t hesitate to get creative with toppings! Try different combinations, such as crushed cookies, caramel sauce, or fruits for a fresh twist.
– Make Ahead: You can prepare the taco shells and ice cream filling a day in advance. Just assemble them closer to serving time.
– Keep It Cool: Always ensure your ice cream is adequately frozen before assembly. This will help maintain the integrity of each taco during the coating process.
– Decorate for Special Occasions: Whether it’s a party or a family gathering, consider decorating the serving area with vibrant lightings or fun decorations that match the theme to enhance the dessert experience.
Recipe Variation
Feel free to customize your Homemade Choco Tacos with these fun variations:
1. Ice Cream Flavor Swaps: Instead of vanilla or chocolate, try refreshing options like mint chocolate chip or strawberry sorbet to suit different tastes.
2. Different Chocolate Coating: Use white chocolate or dark chocolate for a unique flavor profile. You can also add cocoa powder to the melting chocolate for extra richness.
3. Healthier Options: Opt for yogurt-based ice creams or low-fat alternatives for a lighter treat that still satisfies your sweet tooth.
4. Add Some Crunch: Consider adding a layer of your favorite crushed cookies or granola inside the taco for an unexpected crunch.
5. Themed Tacos: For holidays, create themed tacos by using seasonal toppings. For example, use crushed candy canes for Christmas or colored sprinkles for birthdays.
Freezing and Storage
– Storage: To keep your Homemade Choco Tacos fresh, store them in an airtight container in the freezer. They can last about 1-2 weeks if properly stored.
– Freezing Tips: If you need to freeze them for longer, wrap each taco individually in plastic wrap. This prevents freezer burn and keeps them tasting great.
Special Equipment
While making Homemade Choco Tacos doesn’t require specialized tools, having the following will make the process easier:
– Waffle Cone Maker: If you want to create your taco shells from scratch, a waffle cone maker can be quite handy.
– Microwave-Safe Bowl: Useful for melting chocolate. Choose one that is deep enough for dipping the cones.
– Spatula: A flexible spatula helps in spreading the softened ice cream evenly into the cones.
– Freezer-Safe Container: Store the finished tacos in a container that seals tightly to preserve freshness.
Frequently Asked Questions
Can I use gluten-free cones?
Yes, gluten-free waffle cones are widely available. Ensure to check the packaging for gluten-free certification.
What toppings do you recommend?
You can try a variety of toppings, including crushed nuts, sprinkles, mini marshmallows, or even fudge sauce!
How do I keep the chocolate coating from cracking?
Make sure the chocolate coating is warm when applying it to the cones. Additionally, allow the coated tacos to set back in the freezer for a bit, ensuring they harden evenly.
Can I make them dairy-free?
Yes, use dairy-free ice cream and check that the chocolate and toppings are dairy-free as well.
What if I run out of cones?
You can easily substitute with small bowls or cups to create ice cream parfaits! Layer the ice cream and toppings in the bowl for a similar taste.
Conclusion
Homemade Choco Tacos combine crispy, chocolatey shells with creamy ice cream and delightful toppings, making them a versatile treat suitable for any occasion. With easy-to-follow instructions and the ability to customize flavors, these tacos are sure to become a beloved dessert in your home. Enjoy the joy they bring, whether you’re serving them at a gathering or indulging in a sweet treat at home!

Homemade Choco Tacos: An Incredible 5-Ingredient Recipe
- Total Time: 15 minutes
Ingredients
– 6 taco-sized waffle cones
– 1 cup of your favorite ice cream (softened)
– 1 cup semi-sweet chocolate chips
– 1 tablespoon coconut oil (or vegetable oil)
– Assorted toppings (sprinkles, crushed nuts, or mini chocolate chips)
Instructions
Follow these simple steps to create your Homemade Choco Tacos:
1. Prepare the Ice Cream: Soften your favorite ice cream by letting it sit at room temperature for about 10 minutes. Once softened, spoon it into the waffle cones, filling them to the top. Smooth out the surfaces, and then place the filled cones upright in the freezer to harden for at least 1 hour.
2. Melt the Chocolate: In a microwave-safe bowl, combine the chocolate chips with the coconut oil. Heat in the microwave in 30-second intervals, stirring after each until completely melted and smooth.
3. Coat the Tacos: Once the ice cream in the cones is solid, remove them from the freezer. Dip each filled cone into the melted chocolate until the top edge is coated.
4. Add Toppings: Quickly sprinkle your chosen toppings over the chocolate before it hardens.
5. Freeze Again: Place the coated cones back in the freezer for about 15-20 minutes to allow the chocolate to set completely.
6. Serve and Enjoy: Once the chocolate has set, your Homemade Choco Tacos are ready to be served! Enjoy them immediately or store them in an airtight container in the freezer for later.
- Prep Time: 15 minutes
- Cook Time: 0 minutes
Nutrition
- Serving Size: 6 tacos
- Calories: 210 kcal
- Fat: 10g
- Protein: 3g


